Simple Bread Recipe: Easy Steps for Beginners
Table of Contents
There’s something magical about the aroma of fresh bread baking in your own kitchen. Making your first loaf might seem scary, but this simple bread recipe breaks down the process into easy steps anyone can follow. With just flour, water, yeast, and salt, you’ll create a delicious homemade bread that will make you wonder why you ever bought the store-bought kind.
I started baking bread years ago when my grocery store ran out during a snowstorm. That first lumpy loaf taught me that bread making isn’t about perfection—it’s about learning and enjoying the process. This beginner bread recipe focuses on basics, giving you the confidence to experiment later.
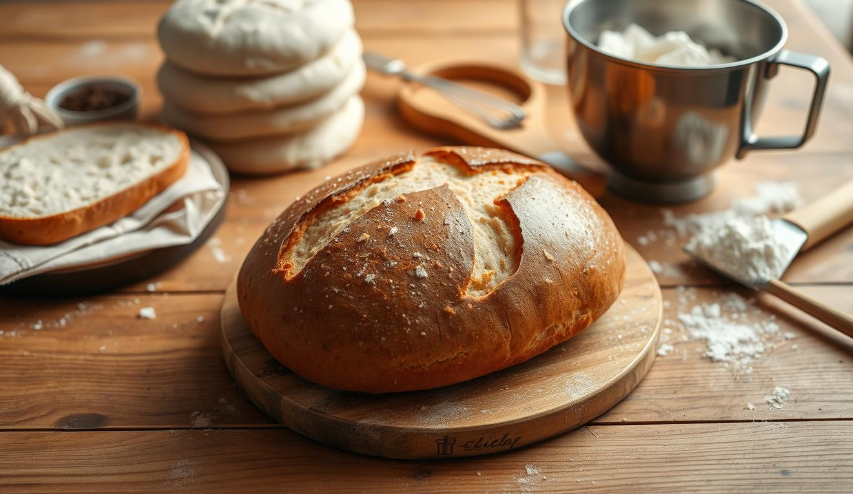
This recipe creates a classic white bread loaf that’s perfect for sandwiches, toast, or just enjoying warm with butter. We’ll walk through each stage, from mixing to that magical moment when you pull a golden-brown loaf from your oven. No fancy equipment needed—just your hands and basic kitchen tools.
Key Takeaways
- You need only four main ingredients for a basic bread recipe
- No special equipment required for this beginner-friendly bread
- The process takes about 3-4 hours, including rising time
- Kneading develops gluten which gives bread its structure
- Room temperature affects how quickly your dough rises
- Your first loaf doesn’t need to look perfect to taste great
- This simple bread recipe builds skills for future baking adventures
The Joy of Homemade Bread Baking
Filling your home with the warm, comforting aroma of easy homemade bread is magical. Mixing, kneading, and baking turns simple ingredients into something special. It connects us to our ancestors.
Why Baking Your Own Bread Is Rewarding
Making bread by hand is a unique pleasure in today’s fast world. The first slice of warm bread, with steam and butter, is unforgettable. It’s a sensory delight that store-bought bread can’t match.
The pride of having family members ask, “What smells so amazing?” is priceless. It’s all worth the effort.
Benefits of Making Bread from Scratch
Homemade bread lets you control what goes into it. No preservatives or artificial additives here. Just pure, honest ingredients you choose.
Your easy homemade bread is cheaper than bakery prices and tastes fresher. You can also play with flavors and flours to meet your dietary needs.
I never thought I could make bread until I tried this recipe. The dough was so forgiving, and the results were better than anything I’ve bought at the store!
What Makes This Recipe Perfect for Beginners
Our no-fail bread making is easy and stress-free. It uses simple steps and visual guides, not tricky timing. The dough is forgiving, perfect for beginners.
Success with this recipe boosts your confidence. It opens the door to more baking adventures, starting a lifelong journey.
Essential Equipment for Your First Bread Loaf
Making a simple bread loaf at home is easy. You might be surprised to find that your kitchen already has most of what you need. This is true for a basic bread recipe.
Begin with a large mixing bowl for mixing ingredients. The bowl should be big enough for the dough to grow. A glass or stainless steel bowl is best and costs about $10-15. Any large bowl you have will work just fine.
Measuring tools are key for getting the right mix in your basic bread recipe. You’ll need standard measuring cups and spoons. These usually cost $5-10 for a full set.
- Clean work surface for kneading (countertop, cutting board, or silicone mat)
- Loaf pan ($8-12) or substitute with a casserole dish
- Kitchen towel to cover dough while rising
- Oven mitts for handling hot bread
While not essential, some tools make making bread easier. A stand mixer with dough hook attachment can save you from kneading. A bench scraper ($5-8) helps with sticky dough and cleaning surfaces.
Bread making connects us to thousands of years of human tradition using the simplest of tools. Your hands remain the most valuable instrument in crafting perfect bread.
Special items like proofing baskets, bread lames, or baking stones can improve your results. But, they’re not necessary for beginners. Start with the basics and then add more tools as you get better.
Basic Ingredients for a Simple Bread Recipe
Bread making is simple. You only need four basic ingredients for a basic loaf:
- Flour
- Yeast
- Salt
- Water
All-Purpose Flour vs. Bread Flour
Choosing the right flour is key when starting. Bread flour has more protein, making it chewier. But all-purpose flour works great for beginners, offering a softer texture.
Understanding Active Dry Yeast
Active dry yeast makes your dough rise. It needs to be activated in warm water before mixing. Keep yeast in a cool, dry place to make it last longer. To check if yeast is good, mix it with warm water and sugar. Bubbles in 10 minutes mean it’s ready.
Salt, Sugar, and Other Additives
Salt adds flavor and strengthens the dough. Sugar helps the yeast grow, making the crust golden. Adding butter, eggs, or milk makes the bread softer and tastier. These extras turn simple bread into special treats.
Water Temperature Considerations
Water temperature is crucial for yeast. It should be between 105-115°F (40-46°C). This is warm enough to activate yeast but not too hot. If you don’t have a thermometer, use your wrist to check. The water should feel warm but not hot. This ensures your dough rises well.
Step-by-Step Bread Making Instructions
Making a tasty quick bread is all about the steps. Follow these instructions to mix, shape, and bake your way to a homemade treat that rivals the bakery.
Mixing and Forming the Dough
Start by mixing yeast in warm water (105-110°F). Wait for 5 minutes until it bubbles. Then, add the other wet ingredients. Mix in the dry ingredients slowly until you get a shaggy dough.
The dough should pull away from the bowl but still feel a bit sticky.
Kneading Techniques for Beginners
Kneading is key for a good texture. Place the dough on a floured surface. Here’s how to knead:
- Push dough away with palm heels
- Fold dough in half toward you
- Rotate dough a quarter turn
- Repeat for 8-10 minutes until smooth and elastic
Proper Rising Times and Conditions
Put the kneaded dough in a greased bowl. Cover it with plastic wrap. Let it rise in a warm place. This is when your quick bread gets its best rise.
| Rising Stage | Time | Ideal Temperature | Visual Cue |
|---|---|---|---|
| First Rise | 60-90 minutes | 75-85°F | Doubled in size |
| Second Rise | 30-45 minutes | 75-85°F | 1 inch above pan rim |
Shaping Your Bread Loaf
After the first rise, punch down the dough. Flatten it into a rectangle and roll it up tightly. Pinch the seam shut and put it in a greased loaf pan, seam side down.
Baking to Golden Perfection
Heat your oven to 375°F. Score the top of the loaf with a knife before baking. Bake for 30-35 minutes until it’s golden and sounds hollow when tapped.
For the best texture, let it cool on a wire rack for at least 30 minutes before slicing.
No-Knead Bread: A Foolproof Alternative
Want to make homemade bread without much effort? No knead bread recipes have changed home baking since Jim Lahey introduced them in 2006. This method uses patience instead of hard work.
The secret is in chemistry. When flour and water rest for 12-18 hours, gluten forms naturally. This long rest creates air pockets, just like artisan bakers make, without kneading.
A simple recipe for peasant bread needs just four things:
- 3 cups all-purpose flour
- 1¼ teaspoons salt
- ¼ teaspoon instant yeast
- 1½ cups room temperature water
Mix these ingredients until just combined in a big bowl. Cover it with plastic wrap and let it rest at room temperature for 12-18 hours. It’s ready when you see bubbles on the surface.
Shape the dough on a floured surface and let it rise again for about 2 hours. Bake in a preheated Dutch oven at 450°F for 30 minutes covered, then 15 minutes uncovered.
The bread that emerges has a crackling crust that sings as it cools, with a tender, airy interior that store-bought bread can never match.
This recipe for peasant bread is easy and delivers artisan quality. You only spend about 15 minutes of actual work for a loaf that tastes like it came from a fancy bakery. Try adding herbs, nuts, or dried fruit to make endless variations of this easy method.
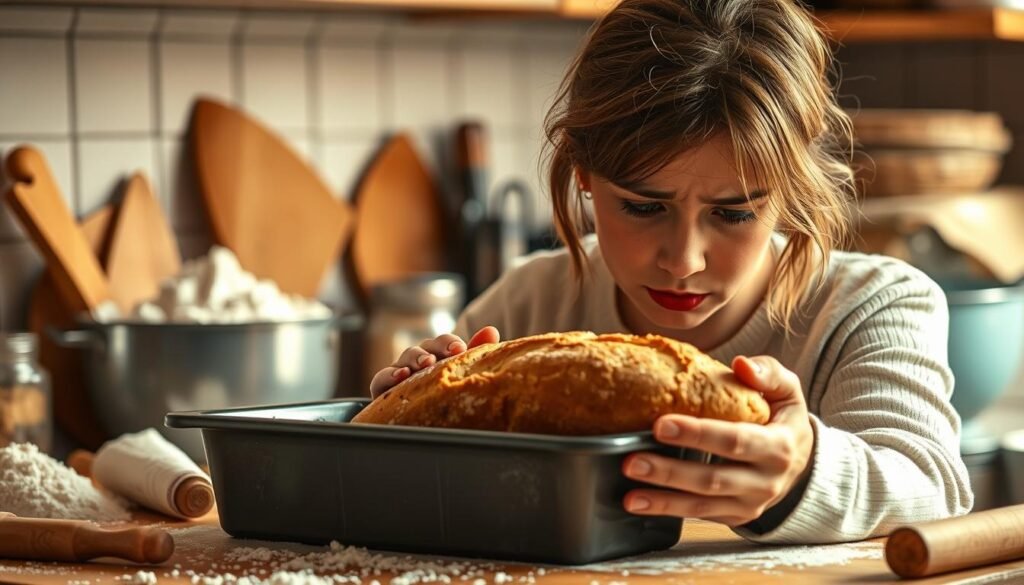
Troubleshooting Common Bread Baking Problems
Even the most careful bakers face issues with simple bread recipes. Knowing what went wrong is key to success. Let’s look at solutions for common problems.
Why Didn’t My Bread Rise?
A flat loaf often means yeast issues. Check if your yeast is fresh by mixing it with warm water and sugar. It should foam in 10 minutes.
Water that’s too hot can kill yeast. Cold environments slow down fermentation. Keep your dough in a warm spot, 75-85°F, for rising.
Too much salt can also stop yeast from working. This is a common problem in baking bread recipes.
Dealing with Dense or Heavy Bread
Dense bread often comes from not kneading enough. Knead until it stretches thinly without tearing. This is called the “window pane test.”
Getting the right flour-to-water ratio is also crucial. Your simple bread recipe should guide you here. Under-proofed dough lacks air pockets, while over-proofed dough collapses.
Fixing Crust Issues
For a golden crust, adjust your oven temperature. Pale crusts need higher heat, dark ones too much. Creating steam in the oven helps – use a pan of water or spray the walls.
Position matters too. The middle rack usually gives even heating for most recipes.
Delicious Variations to Enhance Your Basic Bread Recipe
Mastering the basic bread recipe opens up a world of possibilities. You can make delicious quick bread that suits your taste. This doesn’t add much complexity or time.
Adding Herbs and Spices
Fresh or dried herbs and spices can make your bread amazing. Here are some great combinations:
- Rosemary and garlic (2 tablespoons fresh rosemary + 3 minced garlic cloves)
- Basil and sun-dried tomato (¼ cup chopped fresh basil + ⅓ cup diced tomatoes)
- Italian herb blend (1 tablespoon dried herbs + 1 teaspoon garlic powder)
Put herbs in at the start to spread flavors evenly. Dried herbs are best in winter, while fresh herbs are great in summer.
Sweet and Savory Mix-ins
Adding tasty mix-ins can make your bread richer and more textured:
- Savory options: Cheddar cheese (1 cup shredded), olives (½ cup chopped), or caramelized onions (¾ cup)
- Sweet variations: Cinnamon-sugar swirl (¼ cup sugar + 1 tablespoon cinnamon), dried cranberries and walnuts (½ cup each), or chocolate chips (⅔ cup)
Mix-ins should be gently folded in after the dough rises. This ensures they’re evenly spread without affecting the dough’s texture.
Creating an Artisan Bread Look and Texture
To make artisan bread at home, use a wetter dough and longer fermentation. This develops complex flavors. Score the top with a sharp knife before baking.
| Artisan Shape | Forming Technique | Baking Method |
|---|---|---|
| Boule (round) | Fold edges toward center, flip and rotate | Dutch oven or baking stone |
| Batard (oval) | Fold into rectangle, roll tightly | Baking stone with steam |
| Baguette | Stretch dough long, fold thirds lengthwise | Perforated pan with water tray |
Creating steam is key for artisan bread. Use a pan of water on the bottom rack or mist the oven walls. This moisture helps create that special crackling crust.
Storing and Preserving Your Homemade Bread
Fresh homemade bread doesn’t have preservatives like store-bought bread. So, it’s key to store it right to keep it fresh. Your homemade loaf will stay good for 2-3 days at room temperature if stored properly.
Choose how you store your bread based on when you want to eat it. For the best taste and texture, keep it in a paper bag or bread box. This method keeps the crust crisp and lets the bread breathe.
- Paper bag or bread box: Best for 1-2 days, maintains crust quality
- Plastic bag or container: Extends freshness to 3-4 days but softens crust
- Freezer storage: Preserves easy homemade bread for up to 3 months
To freeze your bread, let it cool down completely first. Slice it before freezing for easy portions. Wrap slices in parchment paper and then put them in a freezer bag to avoid freezer burn and sticking.
Stale bread can be made fresh again quickly. Just spritz it with water and warm it in a 300°F oven for 5-10 minutes. This adds moisture and makes it taste like new bread. Or, turn old bread into toast, croutons, or breadcrumbs.
Think about using eco-friendly storage like beeswax wraps or reusable bread bags. These options keep your bread fresh and help the environment.
Conclusion: Your Journey to Becoming a Confident Bread Baker
Your journey to becoming a confident artisan bread baker has just begun. This guide has taught you the key techniques for homemade bread baking. You’ve learned how to measure ingredients, knead, shape, and bake to perfection. Making peasant bread at home is a skill anyone can learn with practice.
Start with the simple recipe we provided. Then, try the no-knead method for an even simpler way. As you get more confident, try new things like adding herbs, spices, and mix-ins. Every loaf you bake brings you closer to being a skilled home baker.
Bread making is both a science and an art. So, be patient with yourself as you start. Look to other beginners who have succeeded. Don’t be afraid to find more resources like books, websites, or classes. Remember, becoming a confident bread baker starts with baking your first loaf.
We encourage you to share your experiences and questions in the comments below. Let’s create a supportive community of home bakers. Now, get your ingredients ready and start baking your first loaf today. Your homemade bread is waiting!
FAQ
What is the basic equipment needed to make homemade bread?
To make a simple bread loaf, you need a large mixing bowl and measuring cups and spoons. A clean work surface for kneading is also important. A basic loaf pan is essential. You might also want a stand mixer, a bench scraper, a proofing basket, and a baking stone or Dutch oven.
What are the key ingredients in a basic bread recipe?
The basic ingredients are flour, yeast, salt, and water. All-purpose flour is good for beginners. Active dry yeast is a common choice. The water should be at the right temperature to activate the yeast. You can add sugar, butter, or eggs to make the dough richer.
How do I properly knead the bread dough?
Kneading by hand is key to developing the gluten. Press the heel of your hand into the dough, then fold it over and push it away. Turn the dough a quarter turn and repeat for 8-10 minutes. The dough should become smooth and elastic.
How do I know when the dough has risen enough?
Let the dough rise in a warm place (75-85°F) until it doubles in size. This usually takes 1-2 hours. Check if it’s ready by gently poking it. If the indentation stays, it’s ready.
What’s the difference between traditional and no-knead bread methods?
No-knead bread uses a long, slow fermentation of 12-18 hours. This method develops gluten naturally without kneading. No-knead breads have a rustic texture with bigger air pockets.
How can I troubleshoot common bread baking problems?
Issues like bread not rising (expired yeast, too-cool environment) or being dense (insufficient kneading, wrong ingredient ratios) can occur. Crust problems (wrong baking temperature or time) are also common. Following the recipe and understanding these problems can help fix them.
What did you think of our recipe?
There are no reviews yet. Be the first one to write one.